How to start an online resale business: 9 steps for beginners (2026)
Start an online resale business by picking the products you want to sell and learning about your niche and target audience. Then sort out the legal and tax side, find cheap inventory, and list it where your buyers already shop. Once sales are steady, focus on branding, better photos, and packaging that makes people want to come back.
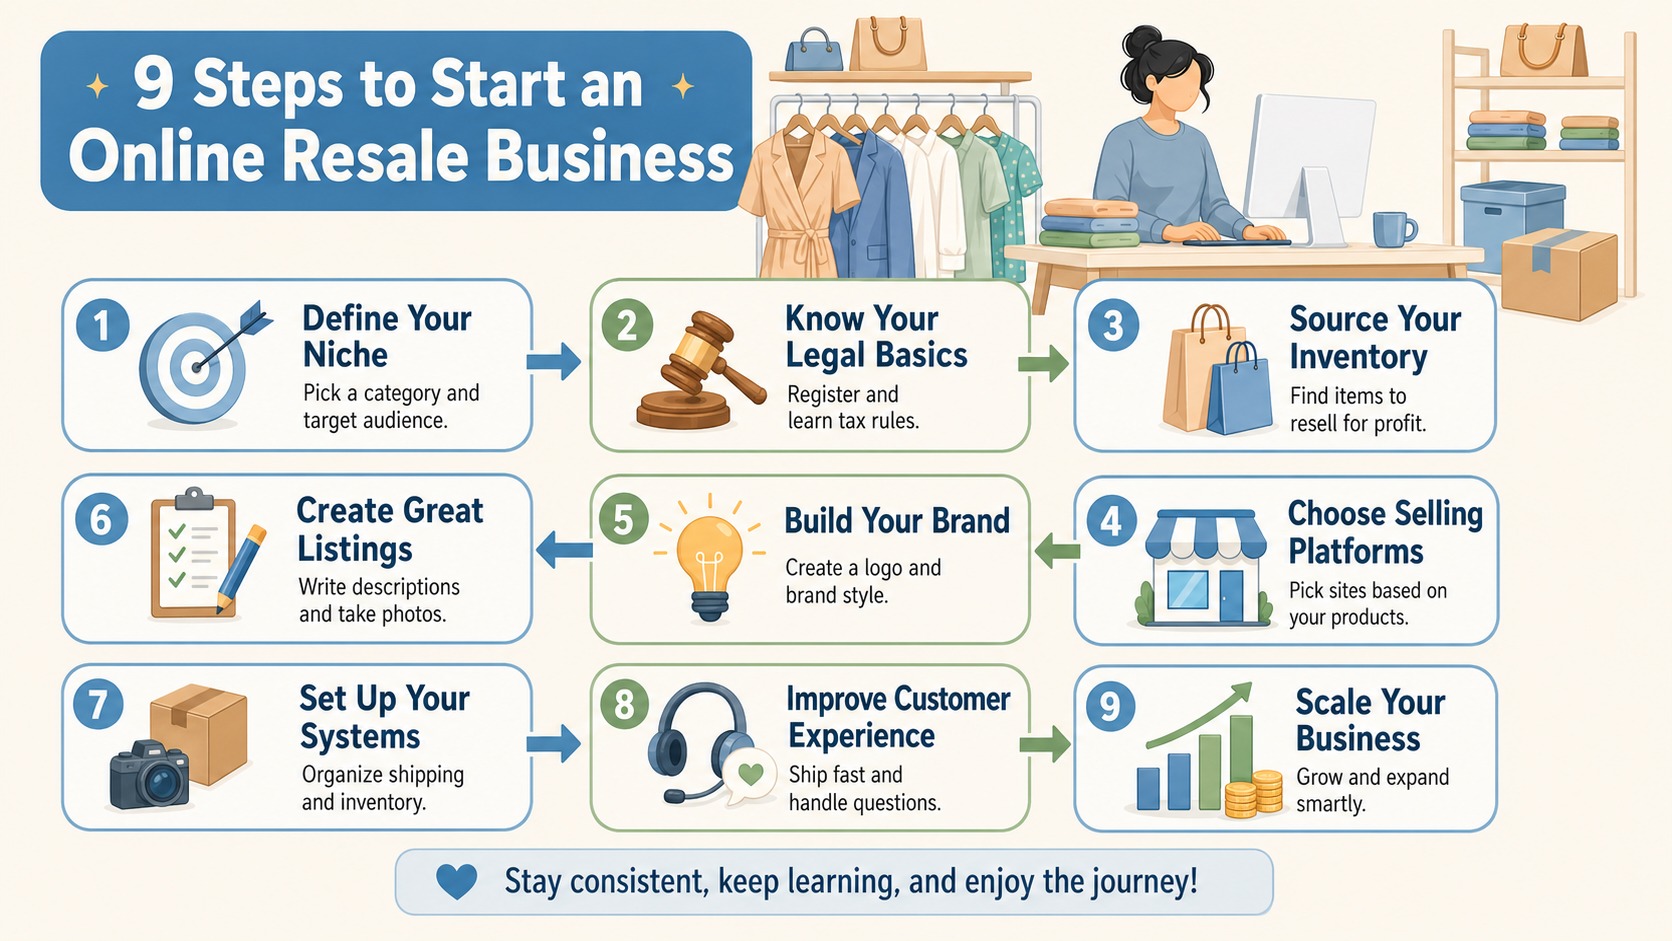
Here’s the 9-step guide that I’ve used to help new sellers launch successful reselling businesses.
How to start an online resale business: Overview
Step 1: Define a clear niche and target audience
Successful resellers avoid selling everything to everyone. Become a specialist by focusing on one category, understanding your target buyers, and tailoring each listing to what your audience wants most. Follow these pointers to find your niche and audience:
- Choose your niche wisely: Pick something you know well or are passionate about, such as vintage denim, 8-bit Nintendo games, or furniture. Specializing helps you spot quality items and build trust.
- Identify your target audience: Figure out who is most likely to buy what you sell. They might be Gen Z shoppers searching for vintage pieces or budget-conscious parents seeking everyday essentials. Knowing your audience shapes how you market each item.
- Learn what your buyers value: Research what matters most to your target buyer. Some shoppers prioritize looks and unique pieces, while others care about condition, brand names, or low prices. Use these insights to highlight the key details in your titles and listings.
- Build listings for your target buyers: Write descriptions, choose keywords, and style photos based on what your buyers search for and respond to. Do they love Y2K fashion? Emphasize details from the turn of the 21st century. Are they just shopping for basics on a platform like Mercari? Focus on accuracy, condition, and fast shipping.
Step 2: Know your legal obligations
Starting a reselling business is easier than most people think. But you’ll probably be legally obligated to report your income to the IRS. In some cases, you might want to register your business as an LLC. Here are the key requirements you need to understand before you start reselling:
- Business registration: Most resellers start as a sole proprietor because it takes little or no paperwork. As you make more money, you may switch to an LLC to protect your personal assets and get tax benefits. Rules differ by state. For instance, New York sellers with over $500,000 and 100+ transactions must register for a New York Sales Tax Certificate of Authority. Resellers in South Carolina need a Retail License because they’re selling taxable goods.
- Resale certificate: You might hear this called a reseller’s permit or sales tax certificate. It lets you buy inventory without paying sales tax upfront because you will charge it to the buyer later. Some wholesale and liquidation suppliers will not sell to you without it.
- Taxes: Platforms like Poshmark, eBay, and Mercari send you a 1099-K when you pass $20,000 in gross payments and more than 200 transactions in the year. You must report that income. Track your expenses like inventory costs, shipping supplies, mileage, and platform fees. These deductions can lower your taxes. Set aside about 25–30% of your profit for quarterly tax payments.
- Business bank account: Open a separate account once your sales become steady. Don’t mix personal and business money. This makes taxes harder and can remove your liability protection if you have an LLC.
Disclaimer: This is general information, not legal or tax advice. Talk to a licensed accountant or attorney for advice based on your situation.
Step 3: Consider source options
As a reseller, you’ll need to find places that allow you to buy inventory cheap enough so you can resell it at a profit. Here are some popular options:
- Thrift stores and estate sales: Low cost of goods, high upside on brand-name finds. But these options require time, consistency, and knowing your brands.
- Wholesale suppliers: Predictable inventory at better per-unit costs. Some require a resale certificate and higher upfront spend, but margins are often more consistent.
- Liquidation pallets: Bulk lots of returned retail inventory sold at a discount. Higher risk, but can dramatically accelerate sales volume. You’ll just need enough space to store your goods.
- Your own closet: The lowest-risk starting point. Build your seller profile and generate early cash flow before investing in outside inventory.
Sourcing examples
Here are two examples of how you can calculate profit from your source:
Example 1: Thrift store
Item: Nike hoodie
Cost of goods: $6
Sale price (Poshmark): $35
Fees (20%): $7
Shipping supplies: $1
Total cost: $14 (COGS $6 + fees $7 + supplies $1)
Profit: $21 ($35 – $14)
Profit margin: 60% ($21 ÷ $35)
Example 2: Liquidation pallet
Item: Mixed clothing pallet (100 items)
Source: Liquidation supplier
Total cost: $400
Average cost per item: $4
Average sale price (eBay): $12
Fees (~13%): $1.56 per item
Shipping supplies: $1 per item
Total cost per item: $6.56 ($4 + $1.56 + $1)
Profit per item: $5.44 ($12 – $6.56)
Total profit (100 items): $544
Profit margin: 45%
Want to learn more about sourcing? Check out our guide on sourcing goods for resale.
Step 4: Find suitable reselling platforms
Each reselling platform suits different buyer and seller styles. The right one depends on what you're selling, who you're selling to, and how you want to run your business. Here’s a comparison of popular online reselling platforms:
Note: Most full-time resellers crosslist across two or three platforms. Crosslisting helps them sell to a larger buyer base and reduce reliance on any single marketplace. Read our article about selling on multiple platforms to hit the ground running.
Step 5: Design a branded shopping experience
A strong brand gives your shop a memorable feel, which encourages buyers to trust you and return. Follow these tips to build a brand that brings in buyers:
Tip 1: Choose a consistent visual style for your photos
Determine how you want your photos to appear across your entire shop, so buyers instantly recognize your brand. Pick a mood, color tone, or photography approach that expresses the style you sell.
Use a photo-editing tool like Nifty’s to align each product picture with your brand. Nifty’s built-in photo editor provides these features:
- Rotate
- Crop
- Filters
- Brightness adjustment
- Contrast adjustment
- Saturation adjustment
- Add text annotations
- Add shapes to highlight important details
Tip 2: Set rules for lighting and composition
Choose one lighting setup and stick to it so every photo looks clean and consistent. Decide on your go-to angles and framing. Once you determine your lighting and composition for every picture, photographing items becomes simple, routine, and formulaic.
Tip 3: Use a unified backdrop and formatting pattern
Pick one backdrop that complements your items and use it for every product photo. Keep spacing, cropping, and text formatting consistent, so shoppers know what to expect as they browse. You can remove your backdrop entirely using a background remover like the one provided by Nifty’s integration with Photoroom.
Tip 4: Organize your storefront to guide browsing
Group similar items together so buyers can move through your shop naturally and find what they want quickly. Use clear categories, titles, or descriptions to help visitors spot themes or styles.
Tip 5: Feature your strongest items with a fresh layout
Highlight your best pieces in high-visibility spots where buyers will see them first. Update these placements regularly so your storefront always looks active and well curated. Featuring standout items can also make a strong first impression when new shoppers visit.
Step 6: Create listings built for quick decisions
You’re battling buyers’ attention spans: They scroll fast, compare dozens of items, then navigate over to their Instagram feed. Your listings need to answer their questions immediately and show exactly what they're getting to keep them engaged.
Follow my listing tips:
Listing tip 1: Make information easy to digest
Your listings’ titles and descriptions should provide the most compelling details, whether that’s the brand, era, condition, or style. Buyers decide within seconds if they’ll keep reading, so front-load information that grabs attention and signals value right away.
Appeal to unique audiences on different platforms, too. If you’re selling branded gear on Poshmark, you’ll want to use language that resonates with this fashion-conscious crowd. But for your Mercari or eBay listings, use more direct language that sums up an item’s measurements and condition details.
Listing tip 2: Make your photos do the heavy lifting
Those captivating, well-lit pictures that you learned in Step 5 will help keep your shoppers’ attention. Here’s how to configure each photo to shine a positive light on your products:
- Show essential details upfront: Present key information immediately so shoppers never guess. Include close-ups of worn areas and standout features to help buyers understand exactly what they are getting.
- Use scale when needed: Display a reference object to help shoppers visualize dimensions accurately when size may be unclear.
- Write clear condition notes: Give buyers precise measurements, condition details, and expected item specifics. Use consistent terminology across listings to make comparisons simple.
- Reinforce the main selling point: Keep phrasing tight and predictable. End with your strongest selling angle, like brand, quality, fit, or rarity.
Step 7: Build systems that keep you organized
Build simple systems that reduce decision-making and keep every task easy to repeat as your workflow grows by following these system-building tips:
System tip 1: Plan and structure your weekly workflow
Plan dedicated days for photographing, listing, and packing so you can give each task your full attention. Write down a task list for every day of the week and estimate the time needed for each individual task. This way, you’ll always complete crucial work as your business scales.
System tip 2: Track sales progress consistently
Monitor your weekly sales goals to determine what’s working and where you need to make adjustments. Use simple metrics that show trends instead of being overwhelmed by data.
By consistently tracking results, you can make quick improvements without slowing your workflow. Always remember to update your weekly workflow plan after making improvements.
System tip 3: Review and update old listings
Build a rotation for refreshing older listings so nothing sits stale. Update photos, adjust pricing, or rewrite titles when needed. A routine review keeps your catalog active and increases visibility on search-driven platforms.
System tip 4: Organize and label your inventory
Create a simple shelving or bin system with clear labels, making it easy to retrieve items. Use straightforward identifiers that match what appears in your listings. Good organization saves time during packing and prevents mix-ups with similar products.
System tip 5: Centralize product details
Store all item specifics, measurements, and reusable listing templates in one place. Keeping everything in one place reduces repetitive work and helps you list new products faster. Centralized information also makes it easier to train help if you scale.
Step 8: Shape your customer experience
Each sale doesn't end when a buyer clicks purchase. The way you package your items and how you communicate during shipping determines whether someone becomes a repeat customer.
Make receiving your items memorable and encourage repeat purchases
Use clean, consistent packaging that reflects your brand, whether you choose recycled boxes, branded tissue paper, or branded tape. Include a short handwritten thank-you note or a printed card that gives each purchase a personalized feel.
Neatly folded items, secure packaging, and branded stickers create a polished unboxing experience. Pack all items in the same way to maintain quality without spending too much time on each order.
Research shows that thoughtful, branded packaging significantly improves perceived quality and preferences. When buyers feel impressed by the packaging and overall experience, they are more likely to leave better reviews.
Further encourage buyers to share their experiences on sales platforms and social media by offering limited-time discounts or exclusive access to your live-stream events.
Step 9: Grow with intentional expansion
Once you've built a buyer base and a clear brand identity, it’s time to start scaling so you can really bring home the bacon. Follow these tips to expand your online resale business:
- Add inventory that supports your brand: Choose new products that align with your existing niche and aesthetic. If you sell vintage denim, consider adding vintage tees or accessories rather than jumping into unrelated categories that confuse your shop's identity.
- Introduce new categories gradually: Don’t overhaul your entire shop overnight. Instead, add one or two new categories at a time, allowing you to test what buyers respond to without risking major losses. This slow expansion helps you see what works before investing more time or inventory.
- Test buyer interest: List a few sample items in a new category and watch how buyers respond through engagement, questions, and sales. Use that data to decide whether the category fits your audience or if you should stay focused on your core inventory.
- Track categories: Review which items get the most views, favorites, and sales. Double down on high-performing categories by sourcing more of what buyers already want, rather than spreading effort across products that don't move.
- Share previews and build buyer community: Post sneak peeks of new arrivals or upcoming drops on your socials to generate excitement. Engage with followers who comment or ask questions and build anticipation that keeps buyers coming back to check your latest listings regularly.
Starting an online resale business is a marathon. By dedicating a few hours each day over the long term and never letting up, you’ll gradually refine your niche and discover the products that appeal most to your target audience.
Estimated startup costs: Hypothetical breakdowns
You need a budget and a plan to start reselling. Many resellers’ startup costs depend on how aggressively they scale and their sourcing methods. Here’s a realistic breakdown of costs involved:
- Inventory ($50–$500+): Start small with thrift stores or your own closet, or invest more upfront in wholesale or liquidation inventory to scale faster.
- Shipping supplies ($20–$100): Poly mailers, boxes, tape, and labels. You can keep this low by reusing materials at the beginning.
- Platform fees ($0 upfront, % per sale): Most platforms don’t charge to start, but take a percentage after each sale. Build this into your pricing from day one.
- Resale certificate or business license ($0–$100): Some states charge a small fee for a retail license or permit. Others are free.
- Storage ($0–$200): Use bins, shelves, or a small rack to keep inventory organized. Start with what you already have and upgrade later.
- Tools and software ($0–$100+/month): Tools like Nifty, Crosslist, or Vendoo simplify crosslisting, automation, analytics, or photo editing, and can save time.
Quick budget ranges
By researching items to find your niche, you can get started reselling at nearly any budget level. These 3 budget tiers can give you an idea of upfront cost requirements:
Range 1: Low-budget start ($50–$150)
Focus on reselling old household items within your niche so you don’t need to spend too much time or money sourcing.
Range 2: Moderate start: ($200–$500)
Closet clean-outs and listing old household items make up a large portion of your listings, but goods found at thrift stores and estate sales also account for a large portion of sales, too.
Range 3: Aggressive start ($500–$1,000+)
With a reseller license in hand, you’re buying pallets and sourcing wholesale. I would only recommend this to resellers who have experience in their niche, i.e., vintage sellers who worked at a brick-and-mortar store. Resellers with experience in a niche understand their target market and are less likely to take losses.
Grow your resale business with Nifty
Now that you know how to start an online resale business, you need a setup that keeps everything organized and easy to scale. Nifty gives you one interface to list, manage, and grow across eBay, Etsy, Poshmark, and other marketplaces without bouncing between tabs.
Here’s why Nifty helps new resellers start strong:
- AI listing made simple: Snap a photo and let Nifty build a polished, SEO-ready listing with titles, descriptions, hashtags, and filled dropdowns. Everything lives in the cloud and works on mobile.
- Crosslist in seconds: Post your items to Poshmark, eBay, Mercari, Depop, and Etsy (more coming soon!) with a couple of clicks. No copy-paste and no repeated work.
- Auto-delisting: When an item sells, Nifty removes it from every marketplace so you never double-sell or need to send apology messages.
- Bulk tools that cut busywork: Share, relist, update, or discount dozens of items at once. Schedule drafts to publish while you sleep.
- Clear analytics: Track sales, fees, top performers, and slow movers in one clean dashboard so you know what drives profit as you grow.
Nifty pays for itself by saving hours every week. Start your online resale business with a 7-day free trial and see how much easier selling can be.
FAQs
1. What do I need to start an online resale business from home?
To start an online resale business from home, you need inventory to sell, a smartphone or camera for product photos, and basic shipping supplies such as boxes and tape. You’ll also need accounts on reselling platforms like Poshmark, eBay, or Mercari.
2. How do I choose the right niche for my resale shop?
You can choose the right niche for your resale shop by focusing on products you already know well or feel passionate about. Specializing helps you spot quality items faster, understand what buyers value, and build expertise that earns trust and repeat customers over time.
3. Which platforms are best for new online resellers?
The best platforms for new online resellers are Poshmark for fashion and accessories, eBay for collectibles and electronics, Mercari for general items and home goods, Etsy for handmade or vintage goods, and Depop for Y2K, streetwear, vintage, or trendy pieces. Each platform attracts different buyers, so test different items to see where your inventory performs best before committing your focus.


.png)